Threshold and Specisific Object Detection
List of libraries used
- os
- pandas
- re
- wordcloud
- matplotlib
- PIL
- numpy
- matplotlib
- OpenCV
- google.colab.patches (If you use code in colab)
Explanation the Project
In this project, i tried to track my water bottle. As you can see above i didn’t use any deep learning library. It’s easy and funny project. But if you don’t find the right threshold value, it can turn into an annoying situation. I used trackbars to avoid this. So let’s see the code!
import os
import pandas as pd
import re
import wordcloud
from matplotlib import pyplot as plt
from PIL import Image
import numpy as np
from matplotlib.pyplot import figure
import cv2
from google.colab.patches import cv2_imshow

books_path ="/content/drive/MyDrive/Colab Notebooks/dosyalar/harrypotter"
books_folder = os.listdir(books_path)

#[f(x) for x in sequence if condition]
books = [books for books in books_folder if books.endswith(".txt") ]

long_string = []
for book in books:
  path = books_path + "/" + str(book)
  with open(path,'r') as f:
    for line in f:
       long_string.append("".join(line))

#Clean the data
def cleanText(input_sentence):
  tmp= [word.replace('A','a') for word in input_sentence.split(' ')]
  tmp= [word.lower() for word in tmp]
  tmp= [word.replace('i̇','i') for word in tmp]
  tmp = [re.sub('[^A-Za-z0-9ğüşıçöiâî]+', ' ', word) for word in tmp]
  tmp = [word.strip(' ') for word in tmp]
  tmp1 =' '.join(tmp)

  return tmp1

def listToString(s):
    # initialize an empty string
    str1 = " "

    # return string
    return (str1.join(s))

long_string = cleanText(long_string)

plt.imshow(wordcloud_example, interpolation='bilinear')
plt.axis("off")
plt.show()

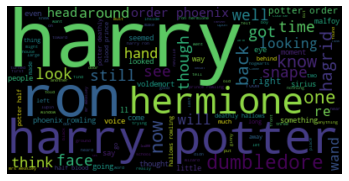
But it isnt give us a good plot. We have words like “said, ve, take, got, re”. These words don’t mean anything to us. So we gotta throw these. Let’s drop both the meaningless words and the words we dont want to show up.
stopwords = set(wordcloud.STOPWORDS)
stopwords.add("page")
stopwords.add("said")
stopwords.add("ve")
stopwords.add("on")
stopwords.add("take")
stopwords.add("re")
stopwords.add("got")
wordcloud_example = wordcloud.WordCloud().generate(long_string)

wordcloud_example = wordcloud.WordCloud(stopwords=stopwords).generate(long_string)

plt.imshow(wordcloud_example, interpolation='bilinear')
plt.axis("off")
plt.show()
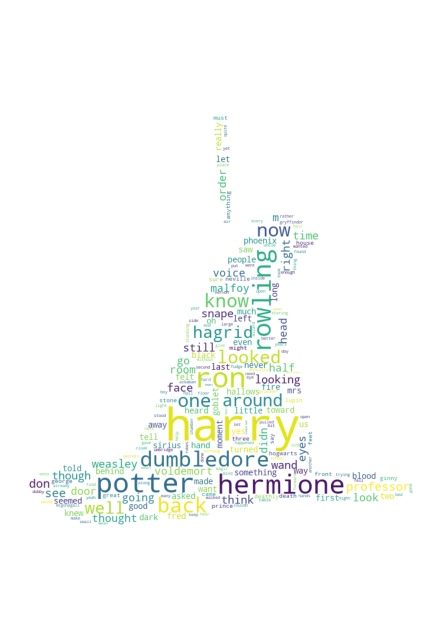
Let’s try with an image!
harry_img_path = books_path + "/hp.jpg"
mask = np.array(Image.open(harry_img_path))

wordcloud_example = wordcloud.WordCloud(stopwords=stopwords, mask=mask, background_color="white").generate(long_string)

figure(dpi=200)
plt.imshow(wordcloud_example)
plt.axis("off")
plt.show()

#For save the plot img
#wordcloud_example.to_file("wordcloud.png")

What if our image is not black and white?
We can convert this images to black and white. But.. wait a minute. How do we choose the part we want? Of course with the threshold!
gray = cv2.cvtColor(cv2.cvtColor(img, cv2.COLOR_BGR2RGB), cv2.COLOR_BGR2GRAY)
# cv2_imshow(gray)

(T, threshold) = cv2.threshold(gray, 200, 255, cv2.THRESH_BINARY)
with_thresh = cv2.medianBlur(threshold, 15, 0)
#cv2_imshow(with_thresh)

(T_inv, threshold_inv) = cv2.threshold(gray, 200, 255, cv2.THRESH_BINARY_INV)
with_thresh_inv = cv2.medianBlur(threshold_inv, 15, 0)
#cv2_imshow(with_thresh_inv)
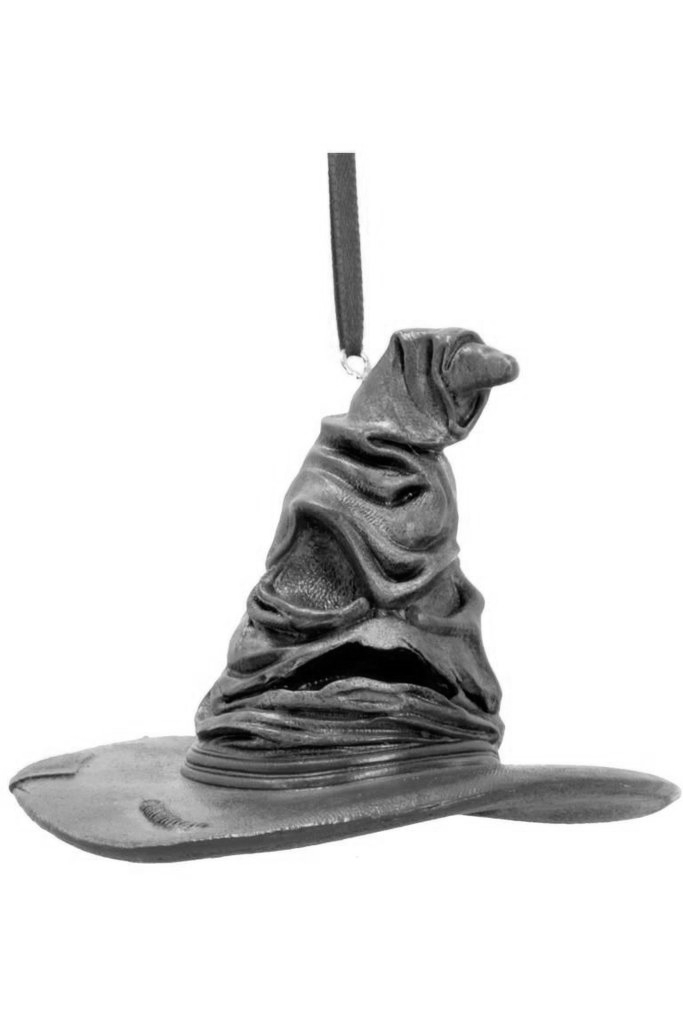
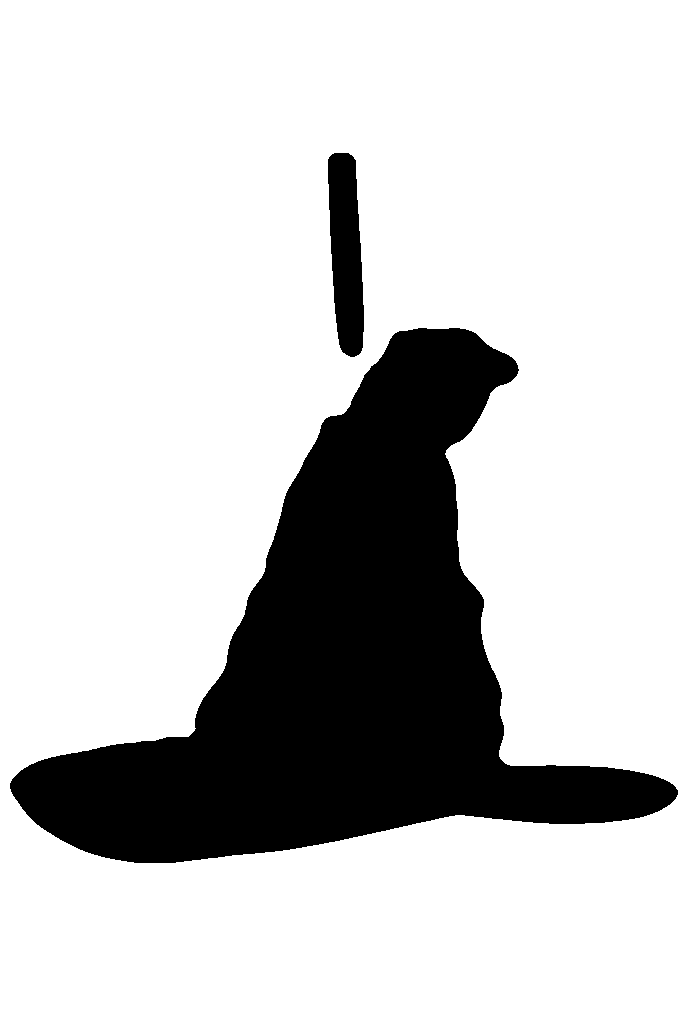
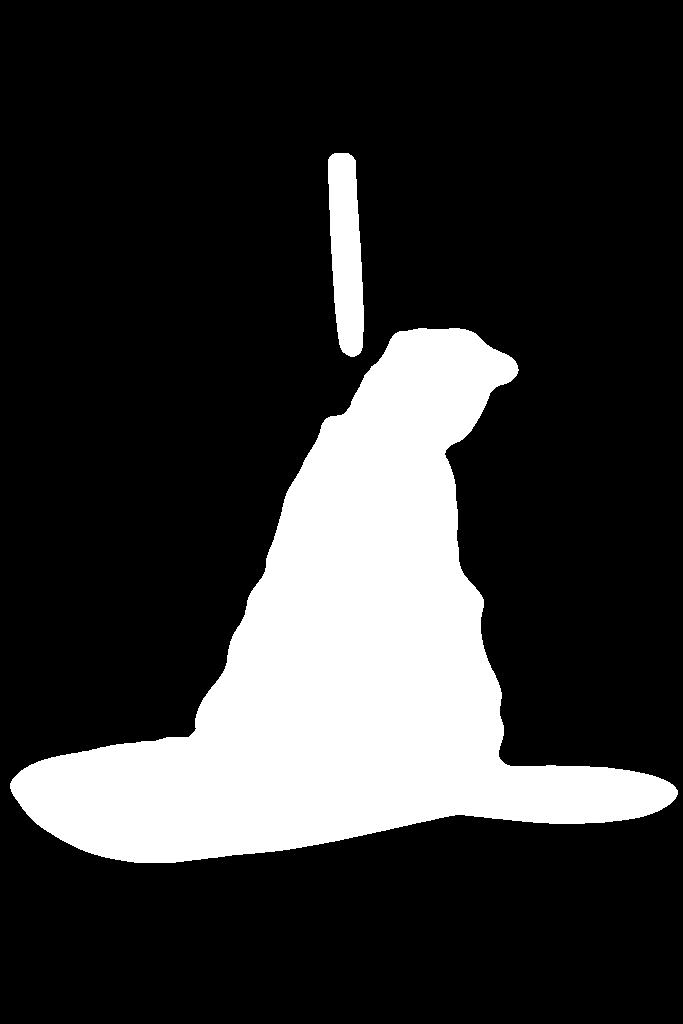
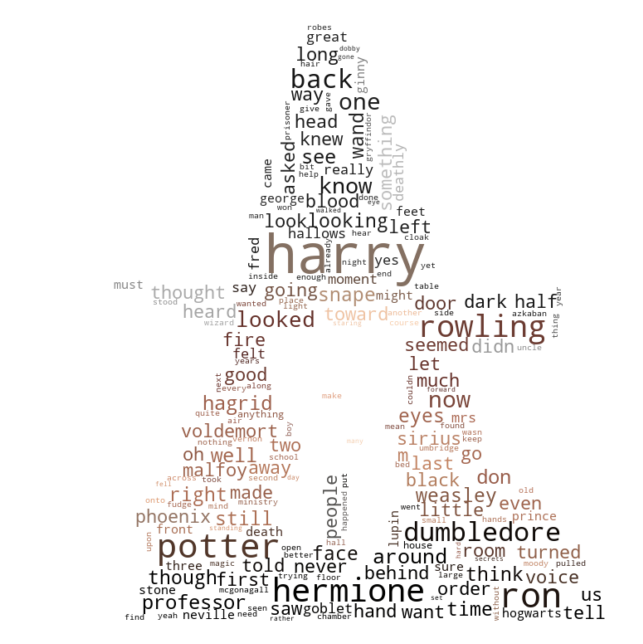
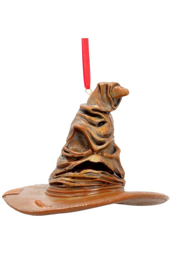
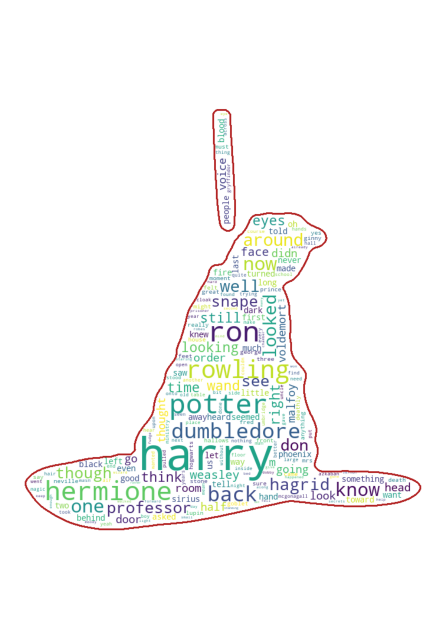
So lets try with the sorting hat!
wordcloud_example = wordcloud.WordCloud(stopwords=stopwords, mask=with_thresh, background_color="white").generate(long_string)

figure(dpi=200)
plt.imshow(wordcloud_example)
plt.axis("off")
plt.show()

#For save the plot img
#wordcloud_example.to_file("wordcloud.png")
Also, if you want to draw boundaries the mask:
wordcloud_example = wordcloud.WordCloud(stopwords=stopwords, mask=with_thresh, contour_width=3, contour_color='firebrick', background_color="white").generate(long_string)
figure(dpi=200)
plt.imshow(wordcloud_example)
plt.axis("off")
plt.show()
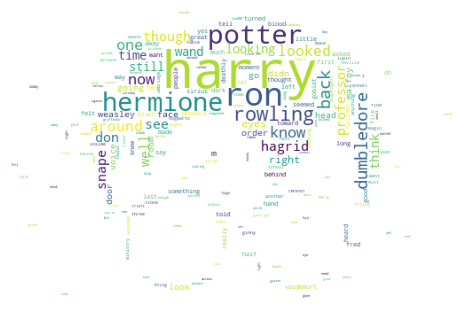
What if i wanna keep the colors of the original image. It is possible? Answer is yes! Take hermione, the savior of house elves, to give an example.Let’s make the image black and white by passing through the same process. We will use the black and white one for masking and the original one for color. If you use black and white to colorize the picture, you will see the following error.
Gray-scale images TODO
Lets see the code and result:
from wordcloud import ImageColorGenerator
img1 = cv2.cvtColor(img, cv2.COLOR_RGB2BGR) #change the color space cause opencv and matplotlib uses different spaces
image_colors = ImageColorGenerator(img1)
figure(dpi=200)
plt.imshow(wordcloud_example.recolor(color_func=image_colors), interpolation="bilinear")
plt.axis("off")
plt.show()